Tuning and Repairs
Applying Bar Stencils2009-10-01
Hi Everyone!
Cleaning up an old saw and making it look new again with a paint job and decals can be a rewarding experience. However, many of the old saws were originally provided with bars that had artwork on them that really stood out. Putting an old used bar on a refinished saw just seems to leave the job a little undone.
Now, there are bar stencils! Clean your old used bar, apply the stencils, paint and remove the stencils….it is that easy! Let’s start at the beginning……….
A little about the stencils. They are provided to you precut and ready to apply. The color of the stencil is not important as it is only serving as a paint mask. Transfer tape will have already been applied to the stencil.
Bar Preparation
1. Before applying the stencils, you will need to thoroughly clean and degrease your bar.
2. Once it is dry, sand the surface lightly to remove all rust.
3. Clean and degrease the bar a second time…remember, you are preparing it for paint. I am not a paint expert, so if there is a procedure you use to prep a surface before painting, use it here.
4. The bar is either ready for stencil application or you can paint the bar with a base coat….your choice.
Stencil Application
Note: This is how I applied my stencils. Ideas are welcome so that we can have the best techniques here for all the members.
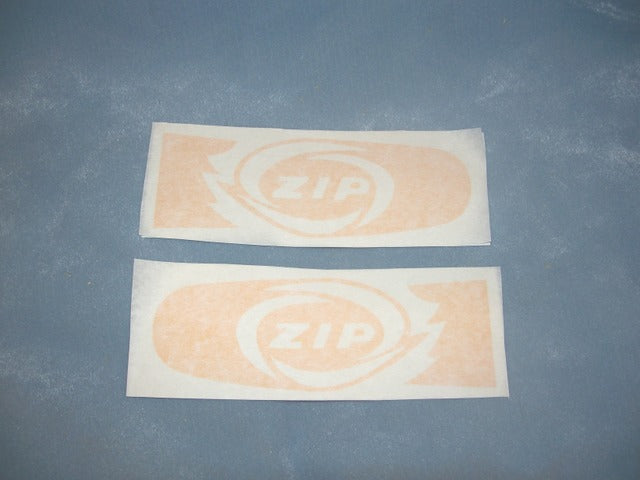
Here are the stencils as you will receive them
1. You will need masking tape.
2. Lay your clean bar on a clean paper towel on a flat surface.
3. Pick up the stencil for the side of the bar that is facing you and apply a strip of masking tape to the top of the transfer tape….this will act as a holding device on the first end you lay down on the bar. The masking tape should overhang the edge of the transfer tape by approximately 2 inches.
(Picture soon)
4. Carefully start to peel the same end of the transfer tape away from the backing paper.
(Picture soon)
5. The stencil will come with the transfer tape. WATCH CAREFULLY! If part of the stencil does not come with the transfer tape, lay it back on the protective backing paper and press on the transfer tape to better adhere the stencil to the transfer tape.
6. Resume peeling the transfer tape and stencil away from the backing paper. Do not touch the stencil with your hands!
(Picture soon)
7. Now, holding both ends of the transfer tape, position the stencil over the bar. Press the end of the stencil with the masking tape trailer onto the table. Continue to hold the other end of the stencil high enough so that it is not sticking to the bar just yet.
(Picture soon)
8. Continuing to keep pressure on the masking tape trailer so that it does not tear loose, start pressing the stencil onto the bar, at the masking tape end, with your thumb.
(Picture soon)
9. Once the stencil has started to stick to the bar, move your hand that was applying pressure onto the masking tape and start sliding it down the bar. Be patient and go slow, keeping an eye on the alignment of the other end of the stencil that your other hand is still holding up off the bar. As you slide your hand down the bar, slowly lower your other hand as more of the stencil adheres to the bar.
10. Please note! You will not get a second chance with the stencil….once it touches the bar, moving it will difficult if not impossible. Masking tape can now also be used to tape off other areas that you do not want painted.

11. Your bar is now ready to paint.
Important note: If your stencil has small features, such as letters smaller than 1/4" inch, several coats of paint will tend to bridge across the stencil making it difficult to pull the small letter or feature off the bar after the paint dries. I have had success in waiting approximately 10 minutes and carefully pulling these features off the bar before the paint fully cures. You must be careful and a good pair of tweezers really helps. To avoid having to do this, my suggestion would be to paint your bar with a light coat of paint so that bridging is kept to a minimum. After the paint is fully dried and the stencil is removed, seal the bar and paint with a good quality, tough clear coat.
Another option is to use permanent marker on your bar instead of spray painting. You would still want to seal over the permanent marker after the stencil is removed to seal in the design.
I suppose that these stencils could also be used to apply powder coat. However, the stencil material will need to be removed before the bar is placed in the oven….the stencil vinyl will not standup to the heat in the oven.
This is a good start! I am sure there will be suggestions and additions to these instructions as more members provide their expertise. The key is to have fun!
Looking forward to seeing examples of your finished saws and bars! Talk to you soon!